Tuesday, May 26, 2020

Manuel I Komnenos (1143-1180) Saviour or Sinner?

I have used the period of Manuel I Komnenos (1143-1180) the as the era for my DBA Komnenan Byzantine army (DBA IV/1ab). What follows is an overview of the reign of Manuel I, looking at his triumphs and failures and assessing his success as Emperor.

Manuel I Komnenos.
Manuel I Komnenos has received mixed press over the years. Yet, as described by historian J.J. Norwich, Manuel was "A fine soldier and superb horseman, he was, perhaps, too headstrong to be quite the general that his father had been, but there could be no doubting his energy and courage. A skilful diplomat and a born statesman, he remained the typical Byzantine intellectual, cultivated in both the arts and the sciences."

Manuel pursued an ambitious foreign policy that refocused Constantople on Western Europe. The emperor himself even taking part in jousting contests in Constantinople’s hippodrome.
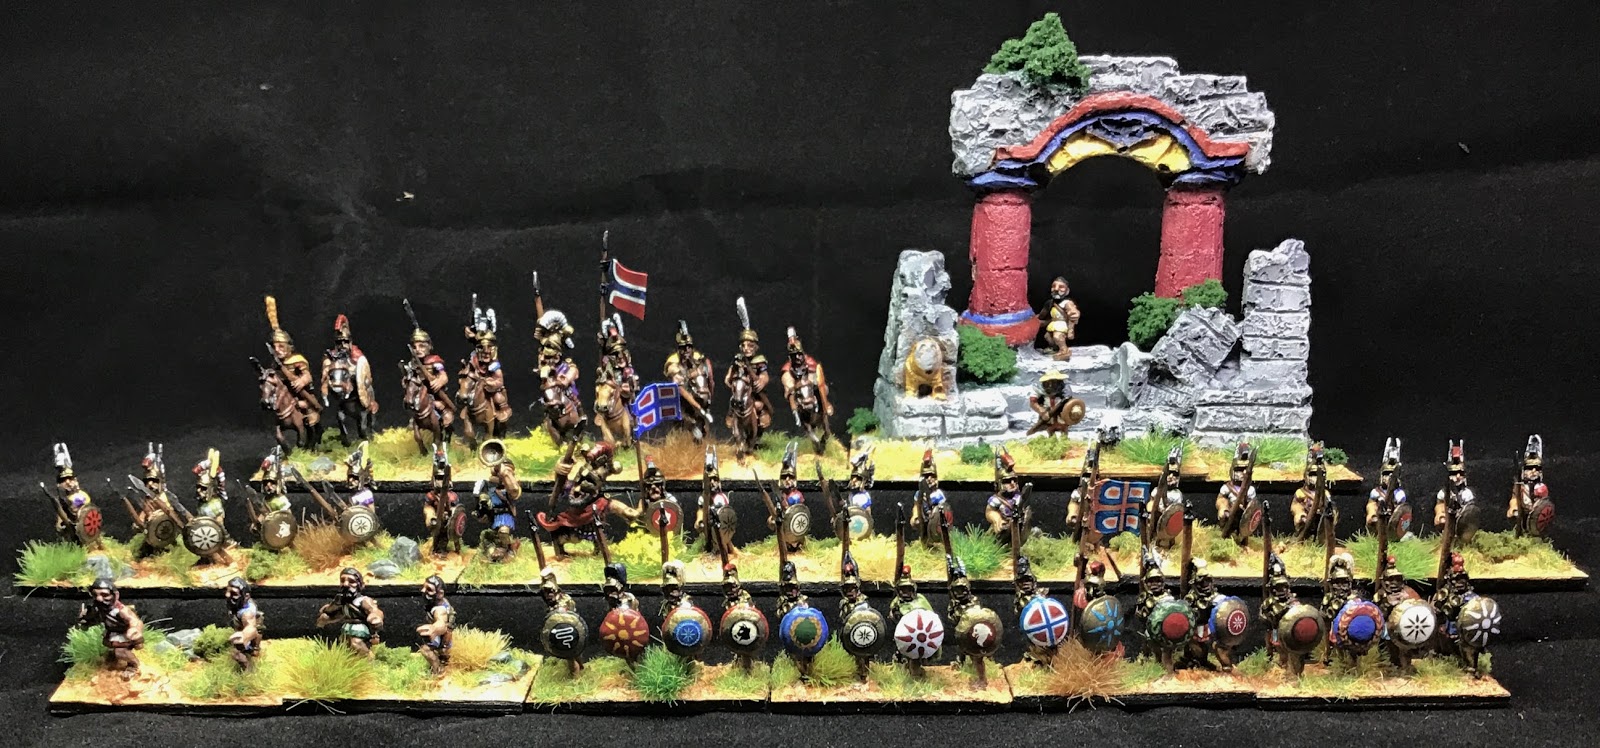

Kavallarioi (Cv)
Manuel’s achievements include successfully guiding the Second Crusade forces through the Empire and reasserting his authority over the Crusader States of OutrĂ©mer and regaining lost territories in Eastern Europe . 

From 1164 Manuel campaigned against Stephen III of Hungary. The campaign culminated with the Battle of Sirmium on July 8, 1167 which ended with a decisive victory for the Byzantines. Manuel had successfully incorporated Bosnia, Dalmatia and Croatia into the Empire. However, in 1174 circumstances in Anatolia began to deteriorate. 


Kavallarioi (Cv)
In the 1160s, Manuel launched a series of dashing and highly successful campaigns against the Seljuk Turk Sultan, Kilij Arslan. In 1162, Arslan accepted client status, and Manuel even later adopted Arslan as a son. 

However, two things changed. Arslan’s Turkic Zengid rival Nur ad-Din died in 1174 and his successor, Salah ad-Din was busy consolidating himself in Syria and Egypt. At the same time, the Crusaders were in turmoil following the death of Amalric. His successor, the leper king, Baldwin IV, was young and weak. Arslan saw his chance and began to annex Anatolian towns. 


Kavallarioi (Cv)
In response, Manuel led a Crusade intent on capturing the Seljuk capital of Ikonion but was ambushed and defeated by the Turks at the Battle of Myriocephalon in 1176. While the defeat was not massive, Manuel viewed it only as a setback, others saw it as evidence of Byzantine weakness.

At around the same time, Frederick Barbarossa and Pope Alexander III successfully conspired to end Byzantine influence in Italy. 

Skythikon Light horse.
Manuel was active militarily and diplomatically after Myriokephalon. In late 1179, an aged emperor heroically led a campaign in defence of Klaudiopolis against the Seljuks. The mere sight of the emperor induced the Seljuks to lift the siege. Manuel died less than 12 months later, in September 1180. He was succeeded by his 11 year old son, Alexis II Komnenos.

Skythikon Light horse.
So, how to assess Manuel’s reign? Despite setbacks, the empire was still strong at the time of his death. The Byzantine war machine was bruised but capable. Manuel continued to expand his diplomatic network. Arguably, it was his death and replacement by a young heir that provided the biggest blow to the empire. He came closer than any other Byzantine emperor to reclaiming Byzantine greatness of old without exhausting his empire’s resources as Justinian or Basil II had. Indeed, Manuel could justifiably claim that the empire was stronger than it had been in over a century.
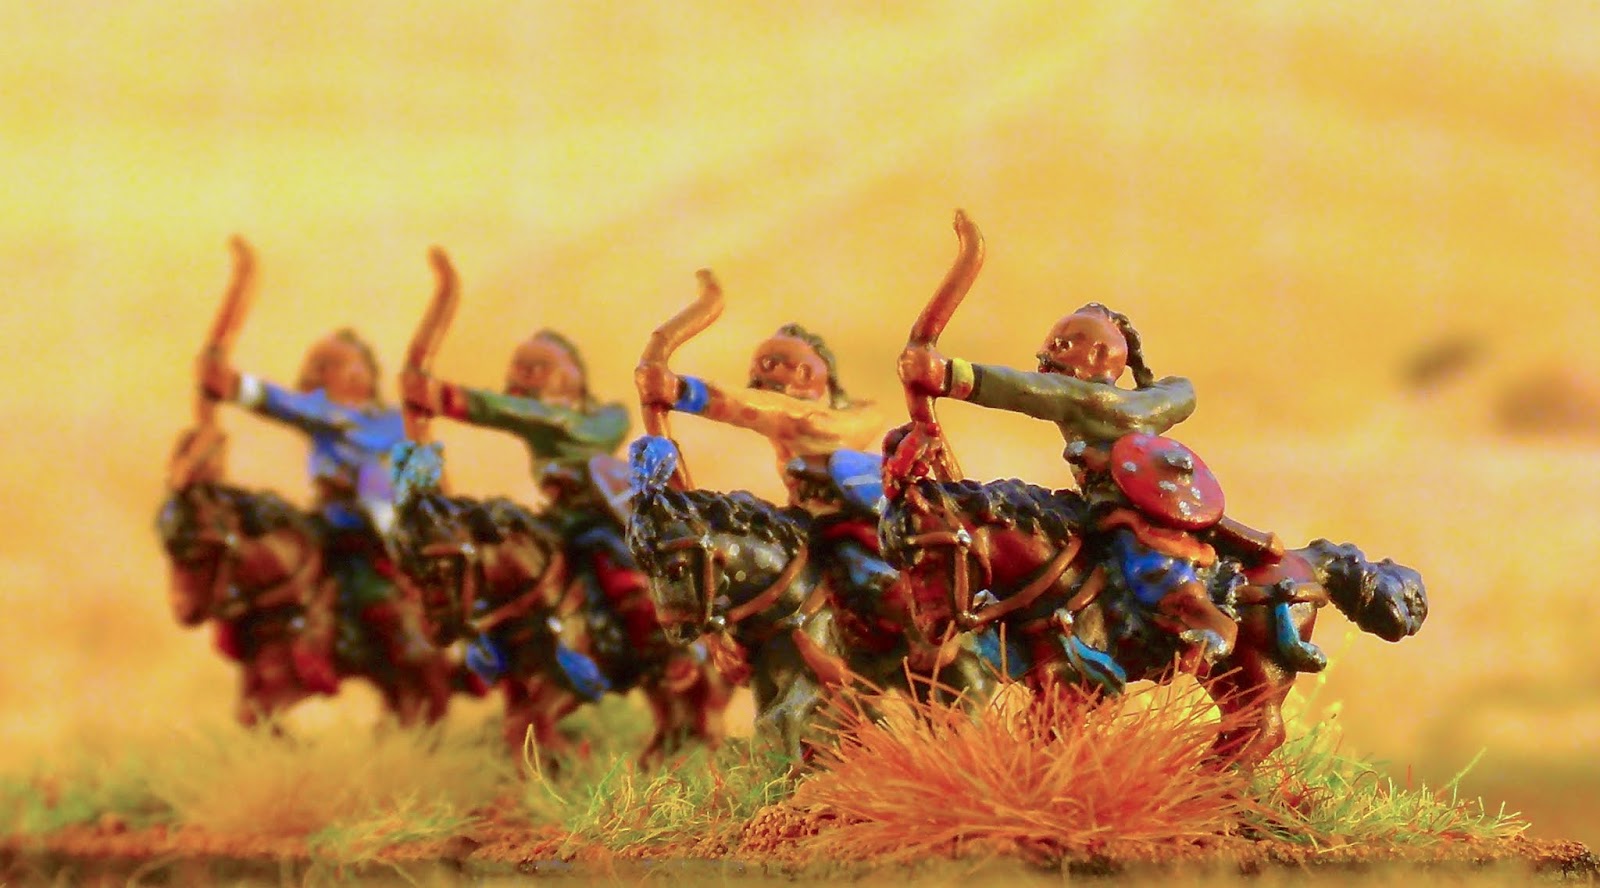
Turkish light horse
In historical terms, the Komnenan army demonstrated that, when properly led, the Byzantine army remained the finest in eastern Europe, capable of defeating heavily armoured western knights as well as the armies of Islam. There-in of course lies the lesson, the Komnenans have the potential to complete well against both historical and ahistorical opponents the challenge is to successfully coordinate the army’s various parts. Hang on, that sounds eerily familiar. Just as well I like a challenge!

The baggage camp with detachable camp follower element.

Further Reading: Exonerating Manuel I Komnenos: Byzantine Foreign Policy (1143-1180) by Darryl Keith Gentry II, Georgia Southern University

Komnenan Byzantine Army (DBA IV/1ab)

The entire Komnenan army.

My DBA Komnenan Byzantine army is a reboot of my Komnenan army. 


Manuel I Komnenos.
In DBM, the Komnenans enticed me with promises of flexible regular commands, light horse in good numbers to confound the enemy and allow me to manoueuve everything into place ready to crush the enemy.


Skythikon Light horse.

More Skythikon.

The Vardariot light horse.

Peltastae Lighthorse.
Then there were the fast moving mounted blades in the form of the Varangian Guard. 

Kontarion spearmen and the Varangians

This was combined with some righteous punch via the combination of hot-headed Western Latinikon knights tempered by the more controlled charging of the home-grown Byzantine Kataphratoi fast knights.


The early Latinkon on the left with the later caparisoned knights on the right.
The kataphractoi.
As it turned out, the Komnenans under my generalship were only moderately successful. I never quite got the whole combination working together. Now, with DBM being a distant memory for me, the Komnenans have become the base for both Komnenan army as well as a bunch of others such as the Pechenegs. 

Archers (3Bw).


Archers (4Bw).


Archers (Psiloi).

Nonetheless, I have quite a soft spot for the the Komnenans. I like to have a historical background for my armies and I plumped for the army of Manuel I Komnenos (1143-1180). Though I have caparisoned knights for a really late option because I like them!

Slavs (3Ax)
In 1071 at the battle of Manzikert, the Byzantines suffered a disastrous defeat at the hands of the Seljuk Turks. The Byzantines struggled to recover until Manuel I Komnenos (1143-1180) ascended the throne. 

The army camp: a Constantinople gatehouse.


A close-up of the camp.

During Manuel’s reign the Byzantines made significant , if short lived, steps in reversing their declining fortunes. I have used this period of the as the era for the army. 

For a more detailed look at the Byzantines under Manuel, see my article: here.


Featherstone Factor 51 - The Byzantines? Ka-ching! Ka-ching!

Donald says the Byzantines were organised, efficient and scientifically disciplined makers of war. They used clever strategies, tactics and logistics. Of course the wheels fell off after Manzikert. Pity the Komnenans were at the wobbly end of the line. 


What’s this Featherstone Factor all about?
Find out here.

Monday, May 25, 2020

The Featherstone Factor


The Featherstone Factor is my salute to that doyen of wargamers in the 1960s & 70s, Donald Featherstone. He wrote over 40 books aimed at guiding the gentle reader in the ways of wargaming. For a snotty neophyte like me, his most influential book was War Games Through the Ages 3000 BC to 1500 AD, bought for the princely sum of $6.90, not cheap back in 1972. 

In that pre-internet, information at your fingertips era, can you imagine my excitement in discovering a book that, in Donald’s own words, provided, “ all the information the wargamer requires to build up armies in the Ancient and Medieval periods.” Not only that, the book was going to specify the “standard tactical methods of fighting of every army of Ancient and Medieval times,” and set out, “the methods of fighting to which armies should conform.” Now that was a trove of information (not to mention an ambitious brief)!


Replete with lovely line drawings of warriors and slightly naff photos of miniatures at battle, I read this book from cover to cover several times and used it as my go-to source of information for a long time. Each army was given an assertive and authoritative overview of its fighting history and capabilities. 


Importantly for the Featherstone Factor, Donald provided a Fighting Assessment Chart for each army that listed 20 qualities of an army and gave it a ‘Fighting Assessment’ score so you could conveniently compare the effectiveness of any given army with another, just by comparing their scores. Simples!


So, in tribute to War Games Through the Ages, I have come up with the Featherstone Factor. For every army I present on this blog that Donald rated in his book (turns out he didn’t actually cover every army) I will present a brief overview of Donald’s own overview and its fighting Assessment score. I’ve enjoyed dipping back into my wargaming past and I hope you have some fun with it too. 

Thursday, May 21, 2020

Ghostly Fog Basing Tutorial.

I posted pictures of some ghostly horde elements for my Crusaders of Antioch HOTT army on the DBA & HOTT Wargaming Facebook page and was pleasantly surprised by the interest in the ghostly fog I used on the bases.


So, here is a quick tutorial on how I did it. It's very simple, have fun.


Sunday, May 17, 2020

Campanian / Apulian Army DBA II/8bc

I've painted up all the options for a DBA II/8bc Campanian / Apulian Army. These are southern Italian armies from the arrival of the Oscans until the end of the second Punic War in 201 BCE. These peoples fought both for and against the Samnites and Rome.

The entire Campanian & Apulian armies on display.


Under DBA, the Campanian army has a nice balance of close order hoplite spearmen, loose order warriors and some cavalry. The Apulian army has a little more cavalry and the foot are entirely loose and open order bush bashers.

The hoplites (Irregular Miniatures)


The figures are all 15mm Tin Soldier, except the hoplites which are Irregular Miniatures, and were a pleasure to paint.

A rear view of the Hoplites.


Let me know what you think, but I find the combination of basic white tunics with simple but colourful patterns makes the army visually pop.

The Warriors - Bush bashing 3Ax in DBA.

Rear view of the Warriors.


The shield designs are a mix of transfers and freehand painting. Where you can see central discs on the shields, I used spare Games Workshop Tau transfers then overpainted them. Most of the Greek looking designs are Vini Vidi Vici transfers.

The General and his cavalry advance.


TIPS FOR APPLYING TRANSFERS

I hadn’t used transfers for a very long time and aside from following the manufacturer’s instructions, found these couple of extra steps most helpful.

The cavalry from the side.

Before placing them in water, carefully make a cut in each transfer with an X-Acto style blade, from the centre to its edge (avoid slicing the design as best you can). This helps the transfer conform to the shield’s curved surface. Wet the shield with Tamiya Mark Fit. This helps you slide the transfer into position. For me, this worked a lot better than applying a layer of gloss varnish which I’d seen recommended in a couple of places.

You can see some of the Crackle effect on these skirmishing psiloi.
I made a departure from my usual basing methods in that I used Mont Marte Crackle Paste to cover the bases. The paste worked well enough but the effect was diminished by my covering a lot of the cracks with vegetation. I’ll use it when I next do a desert army.

I’ve done a short demo of how I used the paste and will post it soon.